How To Set Up Smart Home Routines
A practical step-by-step guide to how to set up smart home routines, including preparation, instructions, common issues, tips, and next steps.

How To Set Up Smart Home Routines
Smart home routines let you automate multiple devices to work together based on triggers like time, sensor activity, or your voice. Setting them up correctly involves choosing compatible devices, using a central hub or app, planning your routine's flow, and testing each step. This guide walks you through preparation, creating routines, troubleshooting common issues, and optimizing your setup for reliability and convenience. You'll learn how to make your home respond automatically to your habits, save energy, and add safety, all while keeping control in your hands. By the end, you'll be able to create routines that fit your daily life and expand them as you add more smart devices.
Fast Answer
- Smart home routines automate multiple devices based on triggers like time, sensor activity, or voice commands. Start by listing your desired actions, then use your hub's app to create a routine that combines them.
- For a basic routine: choose a trigger (e.g., time of day), select actions for each device (lights, thermostat, plugs), set activation order, and test. Most smart home apps have a 'scenes' or 'automations' section to manage this.
Before You Start
- Check that all devices you want to include are compatible with the same hub or app. Look for compatibility lists in the app's help section or device documentation, and note the network requirements (e.g., Wi-Fi, Zigbee) for each device.
- Determine the exact trigger for your routine: a specific time, a device state change (like a sensor detecting motion), or a voice command. Write down the trigger and the desired actions for each device in the routine.
- Assign clear names to each device and zone in the app before creating routines. For example, name lamps 'Bedroom Lamp' rather than 'Lamp 1'. This avoids confusion when selecting devices in the routine builder.
- Ensure all devices are powered on and connected to the same network and that the app has the latest firmware updates. Check the app's notification settings to allow alerts about routine execution, which will help during testing.
Step-by-Step Instructions
Plan Your Routine's Purpose and Trigger
Start by deciding exactly what you want the routine to accomplish. For example, a 'Good Morning' routine might turn on lights, start the coffee maker, and adjust the thermostat. Write down the trigger: a specific time, a motion sensor detection, or a voice command. Be precise about the days of the week and time zone settings. For a time-based trigger, consider seasonal changes; you may need to adjust later. If using a sensor, think about its placement and sensitivity. For a voice command, choose a phrase you will remember clearly. Also, decide if the routine should only run when you are home (using presence detection) to save energy. Finally, list all devices you will include and verify they are compatible with your hub. This planning prevents frustration later and ensures the routine works as intended.
Choose and Connect Your Smart Home Hub
A hub is the central point that connects your devices and lets you set routines. It could be a dedicated hub device, a smart speaker with a hub function, or an app on your phone that acts as a hub. Connect the hub to your Wi-Fi network and power it on. Follow the manufacturer's instructions to pair each device with the hub. This process varies: some devices use an app that scans for nearby devices, others require a specific pairing mode. Ensure every device appears in the hub's app and is responsive. Check that the hub's firmware is updated. If you have many devices, consider a mesh network for better coverage. When pairing, keep devices close to the hub initially to avoid connection issues. Once paired, test each device individually using the app to confirm they respond to commands. This step is crucial because routines will only be as reliable as the connection between each device and the hub.
Categorize Devices into Zones and Groups
In the hub's app, organize your devices into logical groups based on their physical location or function. For example, create a 'Living Room' group for lights, a TV, and a speaker. This simplifies routine creation because you can select the entire group as a single action. For instance, in a 'Movie Night' routine, you can dim all lights in the 'Living Room' group at once. Assign clear, unique names to each device and zone. Avoid generic names like 'Light 1'; use 'Kitchen Table Light' instead. This also makes voice commands more intuitive. To create a group, navigate to the device list, select multiple devices, and choose 'Group'. The app will prompt you to name the group. After grouping, verify that each device still responds individually and as a group. This practice reduces errors when building routines and makes maintenance easier if a device needs to be replaced.
Create Your First Routine Using the App's Automation Tool
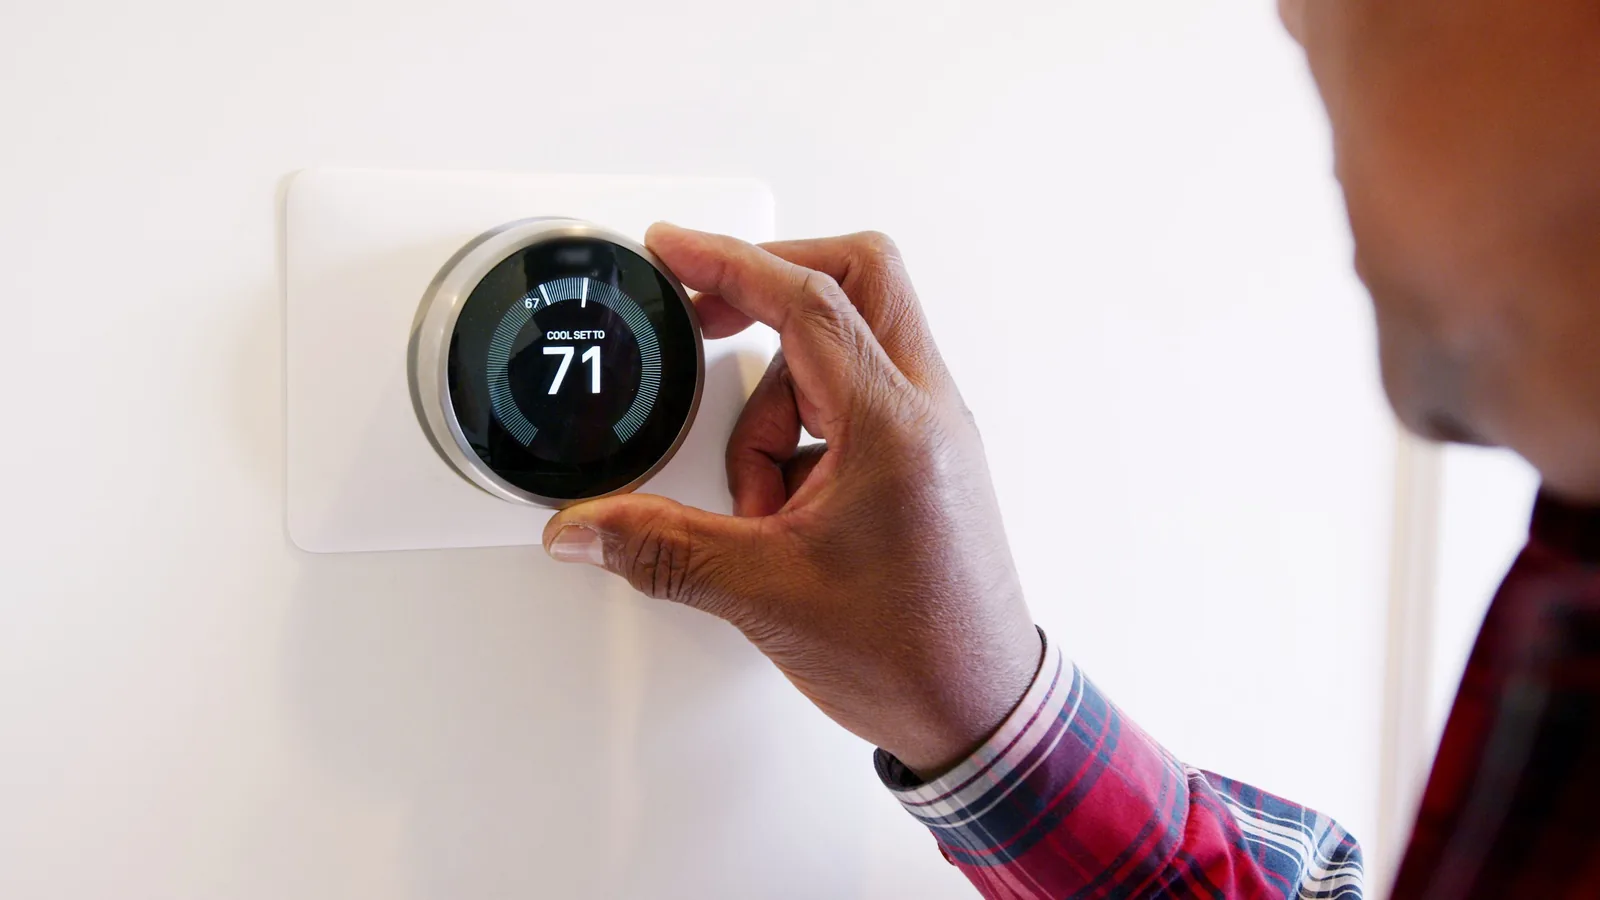
Most smart home apps have an 'Automations' or 'Scenes' section. Open it and select 'New Automation'. You will be asked to define a trigger and an action. Choose a trigger type: time, sensor, or voice. For a time trigger, set the exact time and select which days of the week to repeat. For a sensor trigger, choose the sensor and its state (e.g., motion detected). For a voice trigger, record a phrase. Next, add actions by selecting devices or groups and choosing a specific state (e.g., set light to 50% brightness, turn on thermostat to 72°F). You can add multiple actions and arrange them in order. Some apps allow you to add conditions (e.g., only run if the front door is locked). After setting everything, give the routine a clear name like 'Morning Wake-Up'. Then review the summary and save. Always start with a simple routine to learn the interface. You can always edit it later to add more complexity.
Test and Refine the Routine During a Trial Run
Before relying on a routine, test it to ensure all actions happen correctly. Trigger the routine manually in the app or by physically activating the sensor. Observe each device: do they turn on/off, change settings, or respond as expected? Check for any delays or missed actions. If something fails, go back to that specific action and edit it. For time-based routines, you may need to wait for the set time, but you can often trigger it manually to test. Walk through the routine as if you were experiencing it in daily life. For example, for a 'Goodbye' routine, actually leave the house and see if lights turn off automatically. Keep a checklist of what should happen and mark it off. If the routine works perfectly, you are done. If not, adjust the order, add delays, or change conditions. Repeat the test until it is flawless. This step is vital for safety and convenience.
Integrate Routine Triggers with Sensors and Schedules
To make routines more responsive, combine multiple triggers. For example, a 'Vacation Mode' routine can be triggered by a security system setting and a time condition. Many apps allow you to set routines based on sensor readings (motion, door/window contact, temperature) or device status (e.g., if a smart lock is engaged). Use these to create 'if this then that' scenarios. For instance, if a door sensor detects the door is opened, a routine can turn on lights and send a notification. You can also set schedules within routines, like only running on weekdays. Combining triggers requires careful planning; in the automation builder, add conditions to refine when the trigger 'fires'. Test each combination to avoid false triggers. This integration makes your home truly smart, anticipating your needs. However, keep the logic simple to avoid confusion; you can always create multiple routines for different scenarios.
Quick Reference
| Situation | Action | Why it helps |
|---|---|---|
| You want a routine to start when you arrive home. | Set up a geofence trigger in the app, enabling location permissions. Define actions like turning on lights and adjusting heating. Test by leaving the area and returning. | Geofence uses your phone's location to detect when you cross a virtual boundary, triggering the routine automatically without manual input. |
| Your routine works manually but fails when scheduled. | Check the time zone settings and ensure the schedule is not overridden by another routine or user override. Verify that the hub and devices are connected to the internet. | Scheduled routines depend on accurate time and persistent network. Overlapping routines or manual overrides can prevent your scheduled actions from executing. |
| A sensor doesn't trigger a routine when expected. | Check the sensor's battery level and signal strength. Ensure the sensor is in an appropriate position and that its sensitivity settings are adequate. Re-pair the sensor if necessary. | Sensors are battery-powered and may have limited range. A low battery, poor placement, or disconnection can prevent the sensor from communicating with the hub, so it won't trigger the routine. |
Common Issues
- Routine executes but some devices don't respond.: Check each device's connection and ensure it is not offline. Verify that the device is correctly named and included in the group. Sometimes, a device may need a firmware update via the app. Reboot the device by power cycling it and then test again.
- Routines run at the wrong time or not at all.: Go to the routine's settings and confirm that the time zone set in the app matches your local time zone. Check for any daylight saving adjustments. Also, ensure that the routine is enabled and that you haven't set a 'one-time' execution instead of a recurring schedule.
- Voice commands don't trigger the routine.: Make sure your voice assistant is linked to the smart home app and that you have created a custom phrase for the routine. In the routine builder, look for a 'voice command' option and add it. Also, ensure the microphone is working and the assistant language settings match your voice.
Advanced Tips
- Use 'sunset/sunrise' as a trigger instead of a fixed time to keep routines aligned with seasonal daylight changes, adapting automatically throughout the year.
- Create 'scenes' that combine multiple actions (like 'Movie Night') and then call those scenes from routines or voice commands, reducing duplication and simplifying management.
- Trip sensors and cameras can be integrated into routines to add a layer of security, but ensure you understand data privacy settings and have local storage options if possible.
Final Checklist
- All devices are paired and recognized in the app with clear names and assigned to logical groups.
- Your routine has a clear trigger, at least one action, and no conflicting conditions or schedules.
- You have executed a manual test of the routine and verified that every device responds correctly.
- You have a manual fallback plan in case the routine fails, such as using the app or voice commands as a backup.
FAQ
Do smart home routines work without internet?
That depends on your system. Some hubs can execute routines locally when the internet is down, but many rely on cloud services. Check your hub's documentation to see if it supports local processing. For critical routines, like door locking, ensure you have a physical backup method.
Can I have multiple routines running at the same time?
Yes, you can have many routines, but they may conflict if they control the same devices. Prioritize routines in the app's settings, usually by adjusting their order or enabling 'smart scheduling' to avoid overlaps. Always test to see which routine wins when triggers overlap.
How do I share routines with family members?
Most smart home apps allow you to invite family members to the home. Once they accept, they can see and control devices, but creating or editing routines may require you to grant them 'admin' permissions. Check the app's user management settings to allow them to manage routines.