How To Set Up A Smart Plug Safely
A practical step-by-step guide to how to set up a smart plug safely, including preparation, instructions, common issues, tips, and next steps.
How To Set Up A Smart Plug Safely
This guide explains how to set up a smart plug safely, covering preparation, step-by-step installation, safety checks, and troubleshooting. It emphasizes verifying your Wi-Fi network, checking the plug's ratings, and understanding local electrical codes. You'll learn to handle pairing issues, avoid overloading, and use advanced features like scheduling. The guide also provides a quick reference for common situations and a final checklist to ensure a secure setup.
Fast Answer
- To set up a smart plug safely, first ensure your Wi-Fi is on the 2.4GHz band and you have the plug's app installed. Then, plug the smart plug into a wall socket, follow the app's pairing instructions, and give the plug a clear name for easy voice control.
- Always check the smart plug's power rating against the devices you intend to plug into it. For safety, avoid overloading the plug and place it away from water sources. If you notice any signs of damage like burning smells, unplug it immediately and contact the manufacturer.
Before You Start
- Verify that your Wi-Fi router is broadcasting on the 2.4GHz frequency, as most smart plugs do not work with 5GHz networks. Check your router's settings or user manual to confirm and adjust if necessary.
- Identify the devices you plan to use with the smart plug. Check their wattage and ensure they do not exceed the smart plug's maximum load rating, typically printed on the side of the plug or in its manual.
- Locate a suitable wall socket near your router for initial setup, as a strong signal is vital. Avoid using extension cords for the smart plug itself unless they are rated for the load and are in good condition.
- Before installation, read the smart plug's instruction manual and ensure you have the latest version of its companion app installed on your smartphone. Create an account if needed and enable location permissions for the app to connect to the device.
Step-by-Step Instructions
Step 1: Check Your Network and Device Compatibility
Before you begin, verify that your home Wi-Fi network is broadcasting on the 2.4 GHz band. Many smart plugs only support this frequency, not the newer 5 GHz band. To do this, log into your router's settings via a web browser or its companion app, and look for wireless settings to see available bands. If your router is set to 5GHz-only, you may need to enable a 2.4GHz network or temporarily switch a device to that band for setup. Also, confirm that the smart plug is compatible with your smartphone's operating system and that you have the correct app downloaded. This initial check prevents frustration later and ensures a smooth pairing process. After you've confirmed the network, note your Wi-Fi password as you'll need it during setup.
Step 2: Connect the Smart Plug to Power
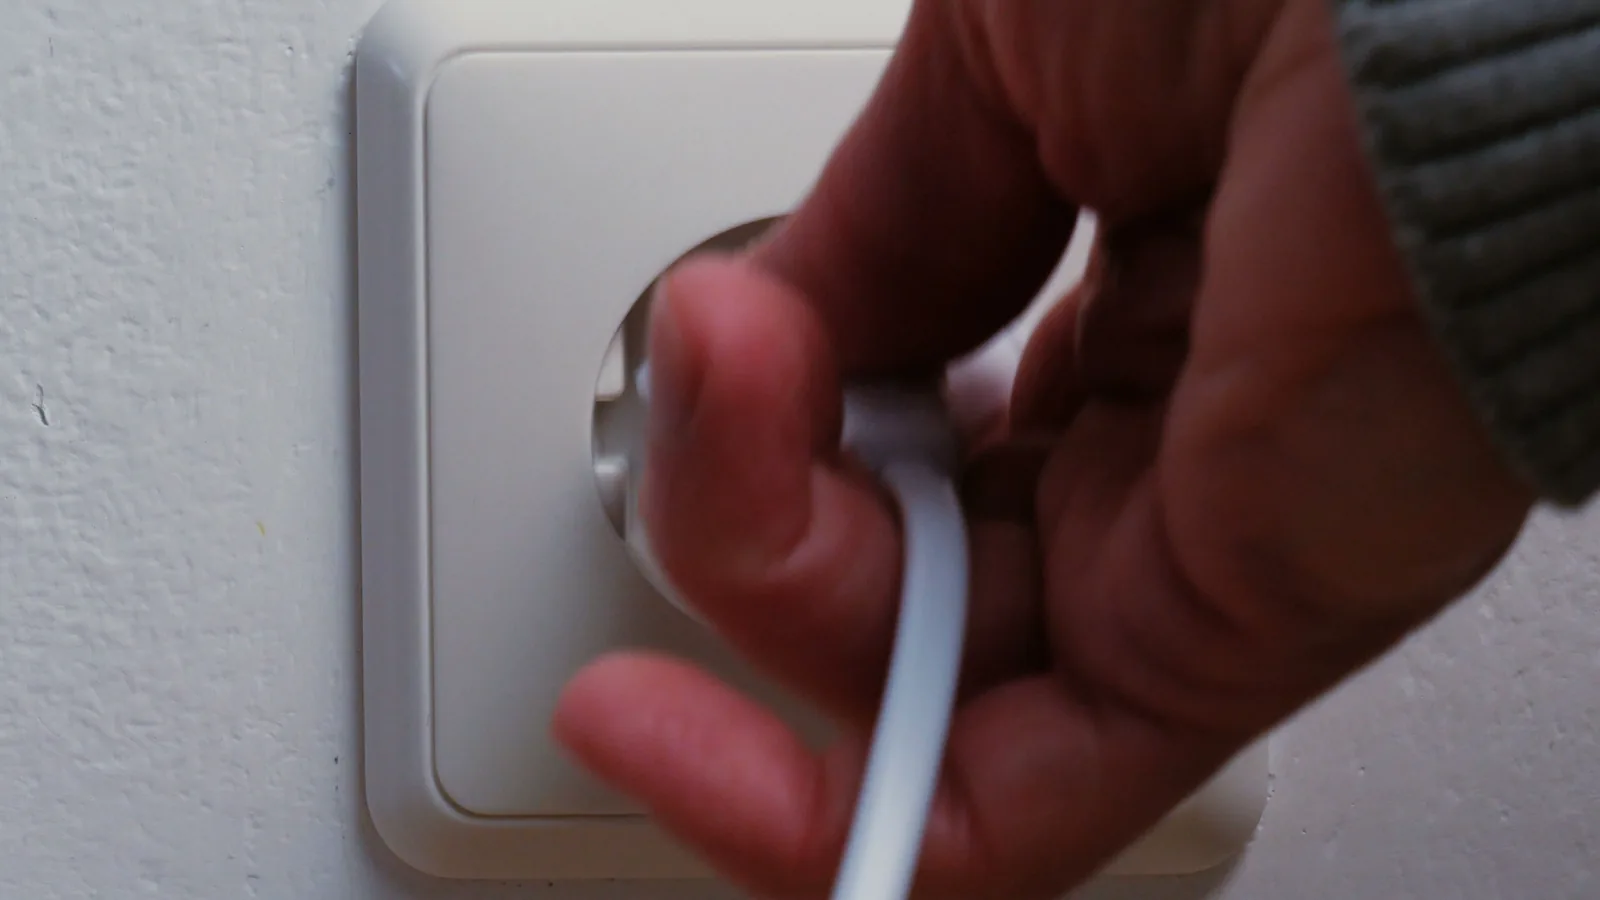
Plug the smart plug into a wall socket that is not controlled by a wall switch, so the plug has continuous power. Avoid using an extension cord or power strip initially because they might introduce electrical noise that interferes with Wi-Fi signals. Ensure the socket is in good condition and not loose. Once plugged in, you should see an LED indicator light on the smart plug. The light typically blinks to indicate that the plug is in pairing mode, or you may need to press a button to activate this mode. Consult the plug's manual for specific instructions. Placing the smart plug near your router during setup (within a few meters) can make the pairing process more reliable. After it's powered, wait a few seconds for the plug to initialize before proceeding to the app setup.
Step 3: Install and Open the Companion App
Download the official companion app for your smart plug from your phone's app store. Open the app and create an account if required. Your account will be necessary for remote access and managing multiple devices. Follow the app's setup wizard, which usually begins by asking you to confirm that your phone is connected to the 2.4GHz Wi-Fi network. Ensure that your phone is on the same network as the smart plug. Grant the app location permissions if it asks, as they are necessary for device discovery. Then, select the option to add a new device and choose the 'Smart Plug' category. The app will likely ask you to put the plug into pairing mode. At this stage, you may need to press and hold the button on the plug for a few seconds until the LED blinks rapidly. Follow the on-screen instructions carefully.
Step 4: Complete the Wi-Fi Pairing Process
In the app, enter your Wi-Fi network's password when prompted. The app will attempt to connect to the smart plug. This may take a minute. Watch for a success message or the LED on the plug turning solid. If the connection fails, double-check that you entered the password correctly and that your phone is on the same network. If it fails multiple times, try moving the plug closer to the router and restart the setup. Once paired, the plug is now connected to your Wi-Fi and can be controlled through the app. After pairing, you may be prompted to assign the plug to a room and give it a name. Do this, as it helps with voice commands and organization. For example, name it 'Bedside Lamp' instead of 'Smart Plug 1'.
Step 5: Set Up App Controls and Safety Features
Once the smart plug is added, explore the app's main screen to control it. You can turn it on/off manually using the app's on/off toggle. Next, set up schedules and timers if you want to automate your devices. For example, a schedule for a lamp to turn on at sunset and off at bedtime. Also, check if your app has a 'Vacation Mode' or 'Randomize' feature for security. Now, focus on safety: if your smart plug has an overload protection feature, make sure it is enabled in the settings. Some apps allow you to set live power monitoring, which can alert you to overcurrent. Finally, test the voice control if you have a smart assistant. Link the smart plug's app to your assistant and use voice commands like 'Turn on the lamp' to verify it responds correctly.
Step 6: Test, Validate, and Document Your Setup
After configuring the smart plug, perform a final test. Use the app to turn the plug on and off and observe if the connected device responds. Then, test voice commands if you have an assistant. Next, do a physical inspection: check that the plug is firmly seated in the socket and that the connected device's power cord is not frayed or damaged. Ensure the plug itself is not warm to the touch after being powered for a while. Note the date of installation and the maximum load of the plug in a notebook or a note on your phone for future reference. Also, write down the troubleshooting steps you used if any. Keep the plug's manual and your warranty information in a safe place. Finally, inform other household members about the smart plug and how to use it.
Quick Reference
| Situation | Action | Why it helps |
|---|---|---|
| Smart plug not responding to app commands after setup | First, check that the smart plug is powered and its LED is on. Then, restart the app on your smartphone. If that fails, unplug the smart plug for 10 seconds and plug it back in, then try again. If still no response, check if your Wi-Fi internet is working and if the plug is within range. Finally, delete the plug from the app and re-add it as a new device. | Restarting the plug and app can re-establish a lost connection, and re-adding the device ensures a fresh pairing is attempted. |
| Need to connect a high-wattage appliance like a heater to the smart plug | Check the smart plug's rated maximum wattage, usually printed on the side. Compare it with the appliance's wattage (found on its label). If the appliance's wattage is higher than the plug's rating, do not connect it. Instead, use a different smart plug rated for that load or use a regular power outlet. | Exceeding the load rating can overheat the plug and cause a fire hazard. Following the ratings prevents dangerous situations. |
| Network failure due to a power outage while using the smart plug | After the power comes back, wait for your router to fully restart and for the smart plug to reconnect. If it doesn't reconnect automatically, unplug the smart plug for 10 seconds and plug it back in. You may also need to restart the app on your phone to refresh the device status. | Smart plugs rely on Wi-Fi, and they often reconnect automatically, but a manual reset helps to re-establish the connection quickly. |
Common Issues
- Smart plug repeatedly disconnects from Wi-Fi: This often occurs due to weak Wi-Fi signal. Move the smart plug closer to your router, or install a Wi-Fi range extender. Also, ensure your 2.4GHz network is not overloaded with many devices. If the problem persists, try changing the Wi-Fi channel on your router to a less congested one.
- Smart plug is hot to the touch during normal use: Immediately unplug the smart plug and connected devices. Check the wattage of connected devices and ensure they are within the plug's rating. Inspect the plug and socket for any signs of damage. If the plug is still hot without a device, stop using it and contact the manufacturer or replace the plug. Overheating can be a serious fire hazard.
- App says 'Device Unreachable' even though the plug is powered: First, check if your phone is connected to the same Wi-Fi network as the smart plug. Verify that your router's firewall is not blocking the plug. Then, restart the app and toggle the plug's power off and on via the app (if possible). If that fails, perform a factory reset on the smart plug as per the manual and set it up again.
Advanced Tips
- If your smart plug supports link to other smart home devices, you can create automations, such as having a lamp turn on when a smart sensor detects motion, which increases security and energy efficiency.
- Consider using a smart plug with energy monitoring functionality to track how much power your devices use. This helps identify 'vampire power' drains and can lower your electricity bill.
- For extra safety, set up a 'kill switch' routine that turns off all smart plugs when you leave the house or at night. Many apps allow you to create one-tap off buttons for all devices.
Final Checklist
- I confirmed that my Wi-Fi is broadcasting on the 2.4GHz band and my smart plug is compatible with my network.
- I checked the smart plug's maximum load rating and verified that all connected devices are within the safe wattage.
- I successfully paired the smart plug with the app and tested it physically with a device to ensure it responds correctly.
- I have recorded important information such as the plug's model, maximum load, and installation date in a safe location.
FAQ
Do I need a smart home hub to use a smart plug?
Most smart plugs connect directly to your Wi-Fi and do not require a separate hub. However, if your smart plug is part of a specific ecosystem, it may require a compatible hub. Check the product manual or app to see if a hub is necessary. In general, you can start with just the plug and app.
Can a smart plug handle appliances like air conditioners or heaters?
Some smart plugs are rated for high-power devices, but many are not. Always check the power rating (in watts) on the plug and compare it to the appliance's wattage. For resistive loads like heaters, it's safer to use a smart plug specifically rated for that use. If in doubt, do not plug in high-wattage appliances and consult an electrician.
How do I know if my smart plug is safe to leave plugged in all the time?
Smart plugs are designed to be left plugged in, but it's important to use them correctly. Ensure the plug is not overloaded, is placed away from moisture and heat sources, and is not covered. Regularly check that the plug and its sockets are cool to the touch. If you notice any signs of damage or abnormal heat, unplug and replace it.