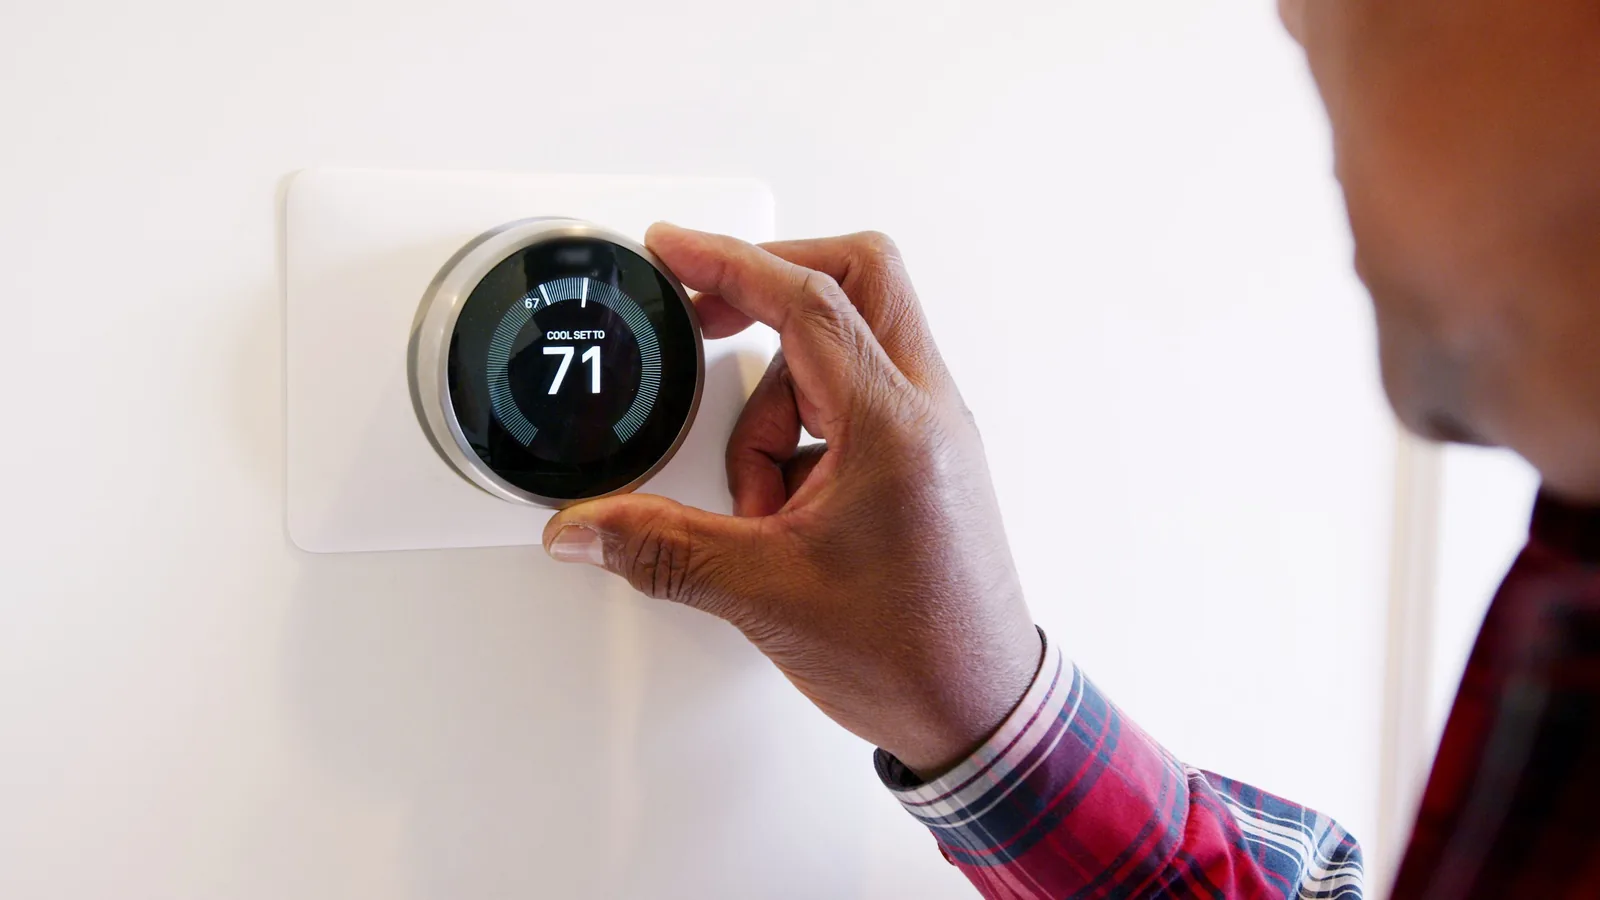
How To Choose Smart Radiator Valves
A practical step-by-step guide to how to choose smart radiator valves, including preparation, instructions, common issues, tips, and next steps.
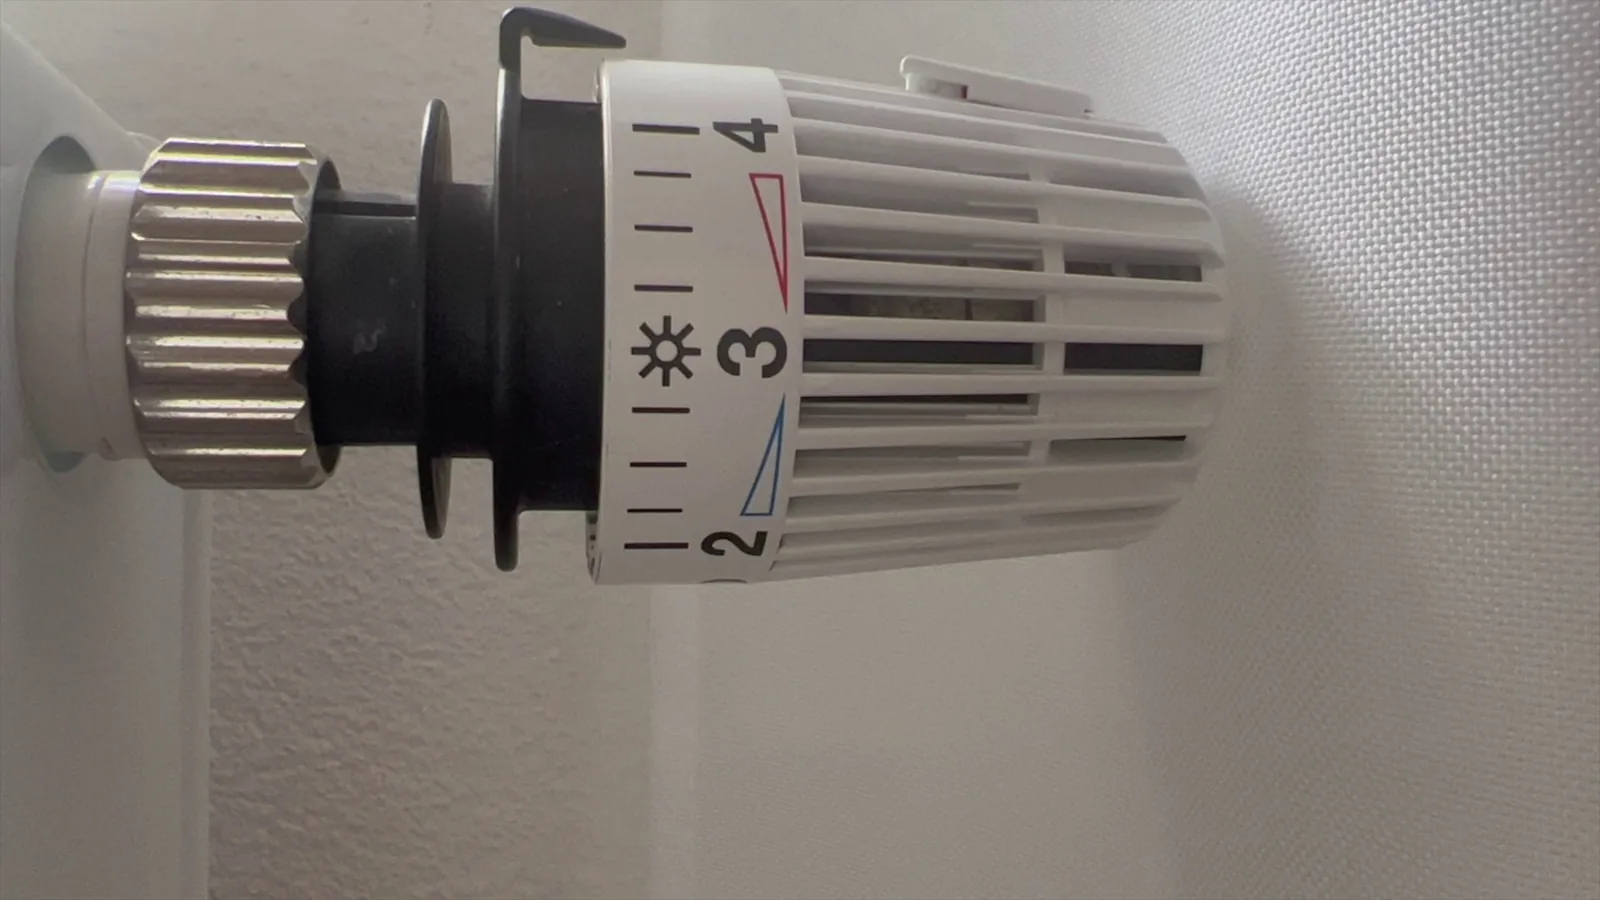
How To Choose Smart Radiator Valves
This guide explains how to choose smart radiator valves, from checking your heating system compatibility to selecting the right features and installation approach. It helps you avoid common mistakes, manage multi-room heating effectively, and integrate valves with your existing smart home setup for both comfort and energy savings.
Fast Answer
- Check if your radiators have standard 3/4-inch or 1/2-inch valve connections, and if you have a combi boiler or a system with a separate hot water tank, as these affect valve compatibility and control.
- Decide on the features you need: scheduling, room temperature sensing, geofencing, energy monitoring, and app or voice control, then look for valves that support your home's Wi-Fi or Zigbee network and work with your existing smart hub.
Before You Start
- Inspect the valve body on each radiator to note the thread size (typically 3/4 inch or 1/2 inch) and whether it uses a M30x1.5 connection, which is common for many smart valves, but measure to be certain.
- Check your boiler type: combi boilers work without extra components, but system or heat-only boilers may require a wiring center or compatible thermostat to use smart valves effectively.
- Take photos of your existing valves and note the room layout, radiator positions, and how many radiators you plan to control, which helps in selecting a set that fits your needs.
- Evaluate your Wi-Fi signal strength near each radiator, as smart valves need reliable connectivity; also check if your smartphone uses iOS or your device, and what smart home hubs you already have.
Step-by-Step Instructions
Assess Your Heating System
Your first step is to determine what kind of heating system you have, because this directly affects whether a smart radiator valve will work properly. The most obvious distinction is between a combi boiler and a system boiler with a separate hot water tank. With a combi boiler, each radiator can be independently controlled, and you usually do not need extra hardware. With a system boiler, you may need a wiring center or a compatible smart thermostat to allow the boiler to fire when a valve calls for heat. In addition, check whether your radiators have two pipes or one pipe, because one-pipe systems require special adapters that are often not included. Look at the pipe connections on the side of each radiator and identify if there is a single pipe feeding both the inlet and outlet, or two separate pipes. If you have a one-pipe system, you will need to purchase a special bypass valve or consult a professional. Also, note whether you have a high-temperature system (common in older homes) or a low-temperature system (often used with heat pumps), as valve temperature ratings vary. Finally, count the number of radiators you need to control, because some valves have a maximum limit when used together, and you may need a hub to manage more than a few units. After this assessment, you will know which valves are likely to be compatible and whether you need to buy additional adapters or a bridge.
Measure the Valve Connection
Next, you need to measure the thread on your existing radiator valve to ensure a smart valve will fit. Standard sizes are 3/4 inch or 1/2 inch, but the most important measurement is the thread pitch, which is often M30x1.5 for many smart valves, but not all. Start by turning off your heating and allowing the radiator to cool completely. Then, use a ruler or caliper to measure the outer diameter of the valve tail in millimeters. The most common sizes are 15mm and 18mm, but you may see 20mm or even a proprietary size. Also, measure the thread pitch, which is the distance between threads in millimeters; for M30x1.5, that distance is 1.5mm. You can measure this by using a thread gauge or by counting the number of threads across a known length. If your existing valve is not compatible, you may need an adapter that converts the thread size, but adapters can affect the valve's compatibility with the smart unit, so it is best to choose a smart valve that matches your existing thread directly. Also, check if the valve controls the flow on the inlet or the return side, because some smart valves are designed to replace only the flow valve, not the return. Finally, note the distance from the valve body to the wall, as smart valve actuators are bulky and need clearance for installation. Taking these measurements eliminates the risk of buying a valve that does not fit, saving you time and return hassles.
Choose Communication Protocol
Now, decide how you want the smart valves to communicate with your phone and home network. The main options are Wi-Fi, Zigbee, Z-Wave, and proprietary protocols. Wi-Fi valves are the simplest because they connect directly to your home router, but they use more battery power and may require a separate bridge if you have many valves. Zigbee and Z-Wave are mesh protocols that require a hub, but they are more reliable and battery-efficient, and they allow many devices to interconnect. If you already have a smart home hub, such as one that supports Zigbee, choose valves that are compatible to avoid buying an extra bridge. If you do not have a hub, a Wi-Fi valve may be easier, but check if it can work with your existing smart assistant, such as Alexa or Google Assistant, and whether it supports the app you like. Also, consider the range: Wi-Fi signals can be weak near radiators, especially in rooms far from the router, so you might need a mesh network or a hub that extends the signal. Some valves use a proprietary protocol that works only with their own bridge, which locks you into an ecosystem. To future-proof, choose a valve that supports an open standard like Zigbee or Z-Wave so you can integrate it with other devices later. Finally, check if the valve supports local control (without cloud) or only cloud-based control, which can affect reliability and speed. Make a list of your existing devices and the protocols they use, then pick valves that fit seamlessly into your setup.
Identify Needed Control Features
Consider which control features are important to you. The basic feature is scheduling, which lets you set different temperatures at different times of day. More advanced features include presence detection using geofencing, which adjusts heating based on your phone's location, and open-window detection, which pauses heating when a draft is sensed. Some valves have a built-in room sensor, while others measure temperature near the valve, which can be less accurate if a radiator covers the sensor. For multi-room control, you may want a system that can coordinate between valves and the boiler to avoid short cycling. Also, think about whether you want voice control via a smart assistant, which requires the valve to work with that assistant. If you have a compatible smart thermostat, choose valves that integrate with it so you can use one app. Energy monitoring is useful if you want to track usage per room, but it may require additional sensors. Ease of use is also a factor: some apps are clunky, so read reviews. Additionally, consider whether you need a physical button on the valve for manual override, which is handy when you do not want to use your phone. Write a list of your must-have features and rank them. Then, when comparing products, filter by those features, and ensure that the valve's app offers the specific controls you want, because some valves only support basic on/off and not precise temperature setting. This step prevents disappointment after purchase.
Determine Installation and Power
Now think about the installation process and power source. Most smart radiator valves are battery-powered, usually using AA or AAA batteries, and they are designed to be a direct replacement for your existing manual valve head. First, check if the smart valve comes with an adapter for different thread sizes, and whether it includes a mounting ring or other fittings. The installation itself is often simple: you typically unscrew the old valve head and screw on the smart valve, but you must ensure the valve is in the right orientation (the actuator should point upwards or in the direction the manufacturer specifies). Also, be aware that some valves require the radiator to be drained and refilled, especially if the existing valve is a manual one that controls flow from the pipe. If you have a thermostatic radiator valve (TRV), you can usually replace just the sensor head. However, if you are not comfortable with DIY tasks, you might need a plumber, which adds cost. Consider the battery life: some valves report battery consumption, and low batteries can cause valve failure, so choose valves with a clear low-battery indicator. Also, check if the valve has an emergency manual function, such as a button to open the valve fully or a knob to adjust without power. Additionally, measure the physical size of the valve actuator to ensure it will not hit the wall or skirting board; you may need to rotate the valve body or use a spacer. Finally, read the installation manual online before purchasing to see if any special tools are required.
Plan Integration and Expansion
Finally, plan how your smart radiator valves will work with other smart home devices and how you will expand the system later. Decide if you want the valves to work independently or as part of a whole-home automation that includes a smart thermostat. Most smart valves can work independently, but for optimal efficiency, you need a way to tell the boiler when to turn on. If you have a smart thermostat, choose valves that are compatible with it. Otherwise, you may need a thermostat that acts as a hub, or you can use a system like a set of valves that coordinate among themselves. Also, consider whether you want to connect the valves to a smart assistant for voice control. Check if the valve app supports multiple users, such as family members, and if it provides notifications for open windows or low batteries. For future expansion, ensure the system allows you to add more valves without replacing the whole setup; some systems have a limit on the number of valves per hub. Also, think about how you will troubleshoot issues: is there a local display for diagnostics, or do you contact customer support? Finally, set a plan for maintenance: you will need to change batteries periodically, so choose products with easily accessible battery compartments. By planning integration now, you avoid a patchwork of incompatible devices and make the system easier to manage. Once you have installed a few valves, test the integration thoroughly, and adjust the setup as needed.
Quick Reference
| Situation | Action | Why it helps |
|---|---|---|
| You have a combi boiler and want to control each radiator independently. | Choose smart radiator valves that support individual scheduling and have built-in room sensors, and install them on every radiator you want to control. | Combi boilers allow for independent zone control without extra hardware, so individual valve control maximizes energy savings. |
| Your radiator valve thread is unusual and not listed in the product specs. | Measure the thread diameter and pitch carefully, then look for a smart valve that offers multiple adapters or an adjustable mounting system. | Using the correct adapter or compatible valve prevents leaks and ensures a secure fit, avoiding costly damage. |
| Your home has a weak Wi-Fi signal near radiators in far rooms. | Opt for a Zigbee or Z-Wave smart valve that operates on a mesh network, and add a hub or repeater to extend the signal. | Mesh protocols are more reliable in difficult environments than direct Wi-Fi, reducing dropouts and improving response time. |
Common Issues
- The smart radiator valve does not fit on my existing radiator valve because the thread size is different.: Measure your valve's thread diameter and pitch, then check if the smart valve manufacturer offers an adapter or if the valve is compatible with your thread size. If not, consider returning the valve and getting one that matches exactly.
- The smart valve is installed but does not turn on or respond to commands.: Check if the batteries are inserted correctly and have enough charge. Also, verify that the valve is within range of your hub or Wi-Fi, and that the hub is properly configured. Restart the valve and your phone app, and ensure the valve pairing process was completed.
- After installing smart valves, the boiler short cycles or does not heat radiators properly.: Ensure that at least one valve is always open to allow water to circulate when you need heat. You may also need to set a minimum on-time in the boiler or install a bypass valve. Check with your boiler manufacturer for guidance on thermostat and valve integration.
Advanced Tips
- Use open-window detection and geofencing together to reduce energy waste: the valve will stop heating when a window is opened and when you leave home, then pre-heat before you return.
- Pair your smart valves with a weather-based compensation thermostat, if possible, so that the heating adjusts based on outdoor temperature, saving energy without sacrificing comfort.
- For optimal performance, clean the radiator and valve seat before installing a smart valve, as dust and debris can cause valving issues and incorrect temperature readings.
Final Checklist
- Have you measured the valve thread size and confirmed it matches the smart valve's specifications?
- Did you verify that your boiler type and heating system are compatible with independent valve control?
- Have you planned the communication protocol and any needed hub to ensure reliable wireless connectivity?
- Did you test the valve after installation for proper opening and closing and check that the boiler responds correctly?
FAQ
Do I need a smart thermostat if I have smart radiator valves?
Not strictly, but you likely need some way to control the boiler, especially if you have a system boiler. Many smart valves can be used with a compatible smart thermostat, or you can use a plug-in relay or even leave the boiler running constant, but that wastes energy. Check if your valve system communicates with the boiler through a hub or requires a separate thermostat.
Will smart radiator valves work with my existing thermostatic radiator valve (TRV)?
Most smart radiator valves are designed to replace the sensor head of an existing TRV, but you need to ensure the valve body underneath is compatible. The thread size and type (like M30x1.5) must match. If not, you may need an adapter. Measure the thread before buying to ensure a proper fit.
How can I improve the accuracy of the temperature sensor on a smart valve?
The sensor in the valve measures temperature near the radiator, which may be warmer than the room due to rising heat. To improve accuracy, place the valve where it has good airflow, avoid covering it with curtains or furniture, and consider using an external room sensor if the valve supports it. Some systems allow you to calibrate the sensor offset.